Custom_google_maps_styles
title: ‘Custom Google maps styles’ layout: post tags: [] category: Uncategoried —
title: ‘Custom Google maps styles’ layout: post tags: [] category: Uncategoried —
-–
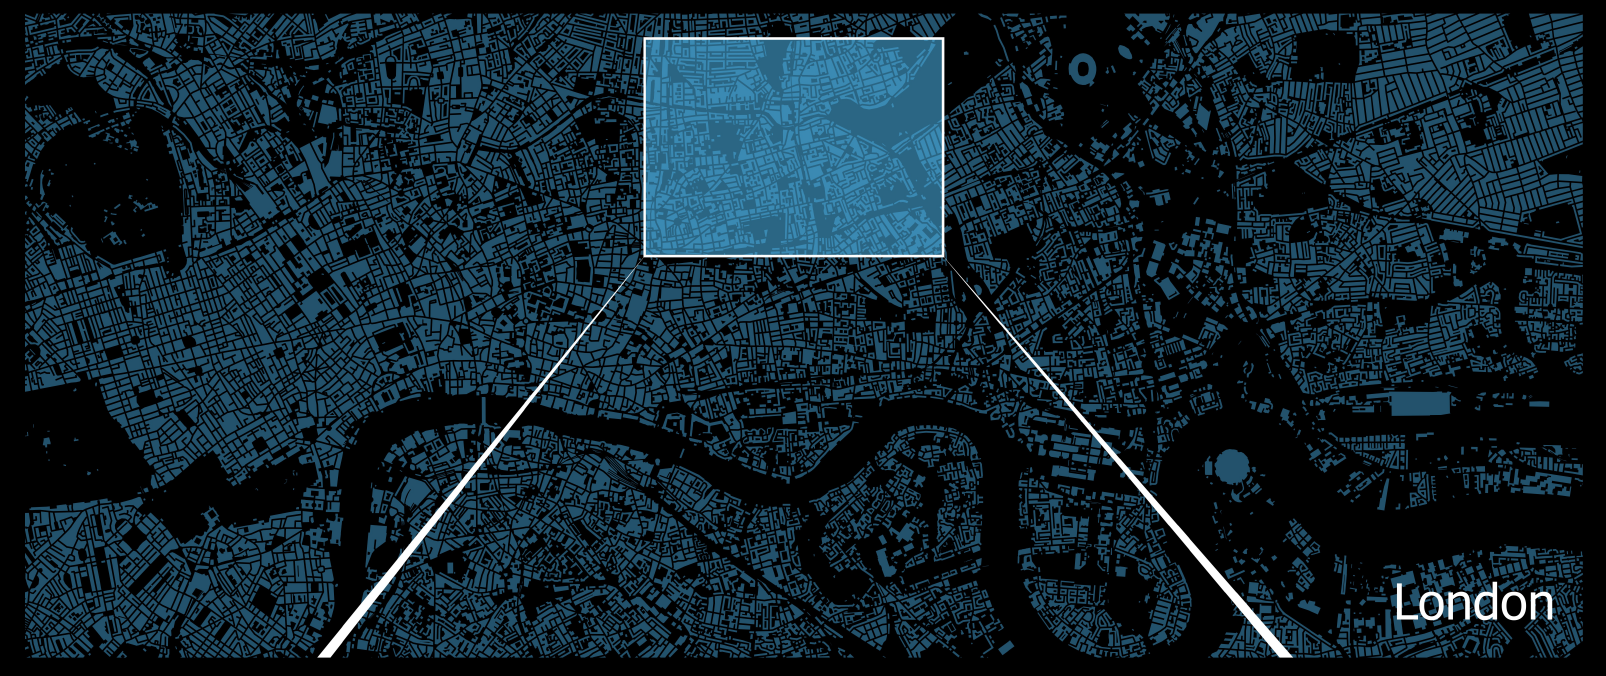
title: ‘GeoCoding’
layout: post
tags: []
category: Uncategoried
-–
A brilliant video that gets the right balance between technical background and a quick progression through the basics.
I saw a map of covid cases across London boroughs by the Evening Standard and was curious about how they had made it.
Publii CMS
I've found this web site https://screenapp.io/#/recorder really useful. It will record your screen whilst you work. Great for making quick videos to demonstrate a task. Has become increasingly important over lockdown when trying to teach people QGIS remotely.
I was looking for a simple way to host webmaps for my blog, which was just a basic free wordpress page. I didn’t have anywhere to host the individual html, geoJSON and other files that make up a webmap.
”— title: ‘Spatial Indexes’ layout: post tags: [] category: Uncategoried —
”— title: ‘Spatial Databases’ layout: post tags: [] category: Uncategoried — One of the advantages of saving data in databases is that you can also save the styling alongside the geometry and attributes.
”— title: ‘Roads within an area’ layout: post tags: [] category: Uncategoried —
”— title: ‘QuickOSM Plugin’ layout: post tags: [] category: Uncategoried —
”— title: ‘QGIS separate overlapping lines’ layout: post tags: [] category: Uncategoried —
”— title: ‘QGIS auto-incrementing ID field’ layout: post tags: [] category: Uncategoried — To add an auto-incrementing ID field to a layer which adds a new id no. to every new feature, use the the ‘add auto incrementing id field’ function.
”— title: ‘QGIS add an auto-incrementing ID field’ layout: post tags: [] category: Uncategoried —
”— title: ‘QGIS Snapping lines to a base layer’ layout: post tags: [] category: Uncategoried — The below image shows data collected using GPS survey kit. The dashed lines are double yellow lines collected during a survey. I wanted them to neatly follow the highway kerb lines show on the OS base mapping. They also need to be offset by a uniform 0.3 metres.
”— title: ‘QGIS Query Builder’ layout: post tags: [] category: Uncategoried — The query builder function allows you to filter a layer, only showing the features that match an expression.
”— title: ‘QGIS Map Design 2nd Ed’ layout: post tags: [] category: Uncategoried —
”— title: ‘QGIS Labels with leader lines’ layout: post tags: [] category: Uncategoried — Labels auto generate over the feature. This can get messy and confusing on a map, especially if there are lots of features close together. The solution is to move the labels out of the way and draw leader lines linking the features to the labels.
”— title: ‘QGIS Date Stamp Composers’ layout: post tags: [] category: Uncategoried —
”— title: ‘QGIS CASE WHEN’ layout: post tags: [] category: Uncategoried — CASE WHEN is the equivalent of the IF function in Excel.
”— title: ‘Python code to toggle off all layers’ layout: post tags: [] category: Uncategoried — A really neat solution shared on stack exchange to the following question. <a class=”“question-hyperlink”” style=”“font-weight:bold;font-style:inherit;”” href=”“https://gis.stackexchange.com/questions/226347/how-to-turn-on-off-all-labels-of-all-layers-in-qgis”“>How to turn on/off all labels of all layers in QGIS.</a>
”— title: ‘Portable Apps’ layout: post tags: [] category: Uncategoried —
”— title: ‘OS Mapping API’ layout: post tags: [] category: Uncategoried —
”— title: ‘MapScaping Podcast’ layout: post tags: [] category: Uncategoried —
”— title: ‘Linux Terminal Commands’ layout: post tags: [] category: Uncategoried —
”— title: ‘Linux Terminal’ layout: post tags: [] category: Uncategoried —
”— title: ‘GeoPackage Lockfiles’ layout: post tags: [] category: Uncategoried —
”— title: ‘GeoPDFs’ layout: post tags: [] category: Uncategoried — Until recently, if you wanted to share QGIS projects with others then it was a frustrating process. Either choose a foolsafe but limited option like pdf or retain the full functionality of a QGIS project but risk the person at the other end not being able to open it correctly.
”— title: ‘Export ArcGIS Feature Services from Webmaps’ layout: post tags: [] category: Uncategoried —
Problem: Remove numbers from a string that has both numerals and words. e.g. you have a list of addresses and want to remove the numers to create just a list of roads.
If you are new to UDFs, they are easy to install and use. To install it, simply press ALT+F11 to go into the VB editor and, once there, click Insert/Module on its menu bar, then copy/paste the above code into the code window that just opened up. That's it.... you are done. You can now use NoDigits just like it was a built-in Excel function. For example, =NoDigits(A1)
Credit: Rick Rothstein. https://www.mrexcel.com/board/threads/remove-numeric-characters-in-a-string.682393/
<figure class=”“wp-block-image size-large””><img src=”“https://gisdriverslicence.files.wordpress.com/2020/09/remove-digits-macro.png?w=1024”” alt=”””” class=”“wp-image-168”” /></figure>
”— title: ‘ESRI Cartography MOOC’ layout: post tags: [] category: Uncategoried —
”— title: ‘Casualty data map’ layout: post tags: [] category: Uncategoried — I was asked to create a ‘casualties per km’ map of the London road network, using Transport for London road casualty data. I had a spreadsheet with the values and a shapefile with the road network.
”— title: ‘CAD Style dims in QGIS Post 2’ layout: post tags: [] category: Uncategoried —
In the world of AutoCAD, dimensions are fully built in and work really well. Whereas in QGIS there is no built in function to create them.
However, it is possible to set up line styles to emulate them.
There are a few options; a separate layer dedicated to dims, a separate line style within a layer containing the objects you want to measure or build the dimension into the line style so that every object has a dim automatically generated.
In my case I settled with option 2. I have a layer containing parking restrictions, with styles linked to a 'type' drop down menu. Draw a line and select the 'Dim' type and it is styled as a dim.
I ended up with two variants, standard and offset. The offset version stops the dim obscuring the underling object. The red dotted line doesn't appear on screen but represents the geometry of the item which is invisible.
{comparison image]
The style has a few components:
The central line: This runs the length of the line
End bars
Arrows
Measurement: This is a label, set to be positioned in the middle of the geometry and offset to match the central line. It used the formula round( $length II 'm' , 2) to dynamically generate the value. I then expanded this out to allow this value to be manually over ridden. Say the line is 9.99metres long, you don't need that level of accuracy and 10m would be neater. Enter 10m in the label field and the expanded formula overides the origional formula.
<span class=""has-inline-color has-vivid-cyan-blue-color"">CASE WHERE ""Label"" IS NULL THEN round( $length II 'm' , 2) ELSE ""Label"" END</span>
Units of measurement:
”
Have you ever had a hatch that looks or should look like this...
<figure class=”“wp-block-image size-large””><img src=”“https://gisdriverslicence.files.wordpress.com/2020/09/image.jpeg?w=286”” alt=”””” class=”“wp-image-224”” /></figure>
...but when you draw the hatch, or match properties from another hatch it looks like one of these?
<figure class=”“wp-block-image size-large””><img src=”“https://gisdriverslicence.files.wordpress.com/2020/09/image-1.jpeg?w=296”” alt=”””” class=”“wp-image-225”” /></figure>
Maybe you have some hatching that is just generally misbehaving and being a pain? Then you need to highlight the hatch and use the set origin command. This resets the origin and orientation of the hatch, and kind of wakes it up to look like it should. This also works when you have adjoining hatches of the same pattern that do not line up..
<figure class=”“wp-block-image size-large””><img src=”“https://gisdriverslicence.files.wordpress.com/2020/09/image-2.jpeg?w=308”” alt=”””” class=”“wp-image-226”” /></figure>
Hint : When it asks for you to select a point for the new origin, always type 0,0, that way all hatches on your job will line up.
”
I was tasked with building a carbon calculator for a conference. Delegates would enter their origin and the modes of transport. The system would then calculate the carbon cost and add it to a list. At the end of the conference we were going to sum up the carbon cost and offset it with tree planting. Covid put a stop to the conference which was a win in terms of carbon.
The easiest way I could think of creating this was in excel and luckily you can access the bing and google maps apis from within Excel to calculate the distances. Bing Maps ended up being used as you can use it for free without significant limits.
Get an api key here: https://www.bingmapsportal.com/
Generate Lat and Long for the origin and desitinations:
First enter the address details into empty cells. Then we use the api call https://dev.virtualearth.net/REST/v1/Locations?countryRegion=$1&adminDistrict=$2&locality=$3&postalCode=$4&addressLine=$5&maxResults=1&o=xml&key=$k to return the Lat and Long values. Within the string we need to substitute $1, $2, $3, $4, $5 and $k for values. We do this with a substitute formula =SUBSTITUTE(SUBSTITUTE(SUBSTITUTE(SUBSTITUTE(SUBSTITUTE(SUBSTITUTE(point.url,""$1"",C$16),""$2"",C$15),""$3"",C$14),""$4"",C$13),""$5"",C$12),""$k"",bingmaps.key). Then to return a result pass that line via the web service function =WEBSERVICE(C18). The result us a very long string starting <?xml. To filter out the information we need use =@FILTERXML(C20,""//Latitude[1]"") and =@FILTERXML(C20,""//Longitude[1]""). The final result is four cells with the lat and long for the origin and destination.
Calculate the travel distance between the two co-ordinates:
Similar to above we take an api call https://dev.virtualearth.net/REST/v1/Routes/DistanceMatrix?origins=$1&destinations=$2&travelMode=$3&o=xml&key=$k substitute in origin and destination co-orfinates, travel mode and api key. Call it with web service and filter out the travel distance component.
More info here: https://chandoo.org/wp/distance-between-places-excel-maps-api/
<figure class=”“wp-block-image size-large””><img src=”“https://gisdriverslicence.files.wordpress.com/2020/09/carbon-footprint-calculator.png?w=700”” alt=”””” class=”“wp-image-185”” /></figure>
To clear the origin and destination address cells I assigned a macro to a button labelled clear.
<div class=”“wp-block-coblocks-gallery-masonry alignwide””><div class=”“coblocks-gallery has-caption-style-dark has-gutter””><ul class=”“has-grid-lrg has-gutter-15 has-gutter-mobile-15””><li class=”“coblocks-gallery–item””><figure class=”“coblocks-gallery–figure””><img src=”“https://gisdriverslicence.files.wordpress.com/2020/09/asign-macro-to-button-1.png?w=692”” alt=”””” data-id=”“180”” data-imglink=”””” data-link=”“https://gisdriverslicence.wordpress.com/asign-macro-to-button-1/”” class=”“wp-image-180”” /></figure></li><li class=”“coblocks-gallery–item””><figure class=”“coblocks-gallery–figure””><img src=”“https://gisdriverslicence.files.wordpress.com/2020/09/clear-cells-macro-1.png?w=237”” alt=”””” data-id=”“181”” data-imglink=”””” data-link=”“https://gisdriverslicence.wordpress.com/clear-cells-macro-1/”” class=”“wp-image-181”” /></figure></li></ul></div></div>
To copy the delegate details and carbon calculations into a records tab I assigned another macro to a submit button.
<div class=”“wp-block-coblocks-gallery-masonry alignwide””><div class=”“coblocks-gallery has-caption-style-dark has-gutter””><ul class=”“has-grid-lrg has-gutter-15 has-gutter-mobile-15””><li class=”“coblocks-gallery–item””><figure class=”“coblocks-gallery–figure””><img src=”“https://gisdriverslicence.files.wordpress.com/2020/09/submit-details-to-list.png?w=700”” alt=”””” data-id=”“183”” data-imglink=”””” class=”“wp-image-183”” /></figure></li><li class=”“coblocks-gallery–item””><figure class=”“coblocks-gallery–figure””><img src=”“https://gisdriverslicence.files.wordpress.com/2020/09/copy-to-record-sheet-macro.png?w=700”” alt=”””” data-id=”“184”” data-imglink=”””” class=”“wp-image-184”” /></figure></li></ul></div></div> ”